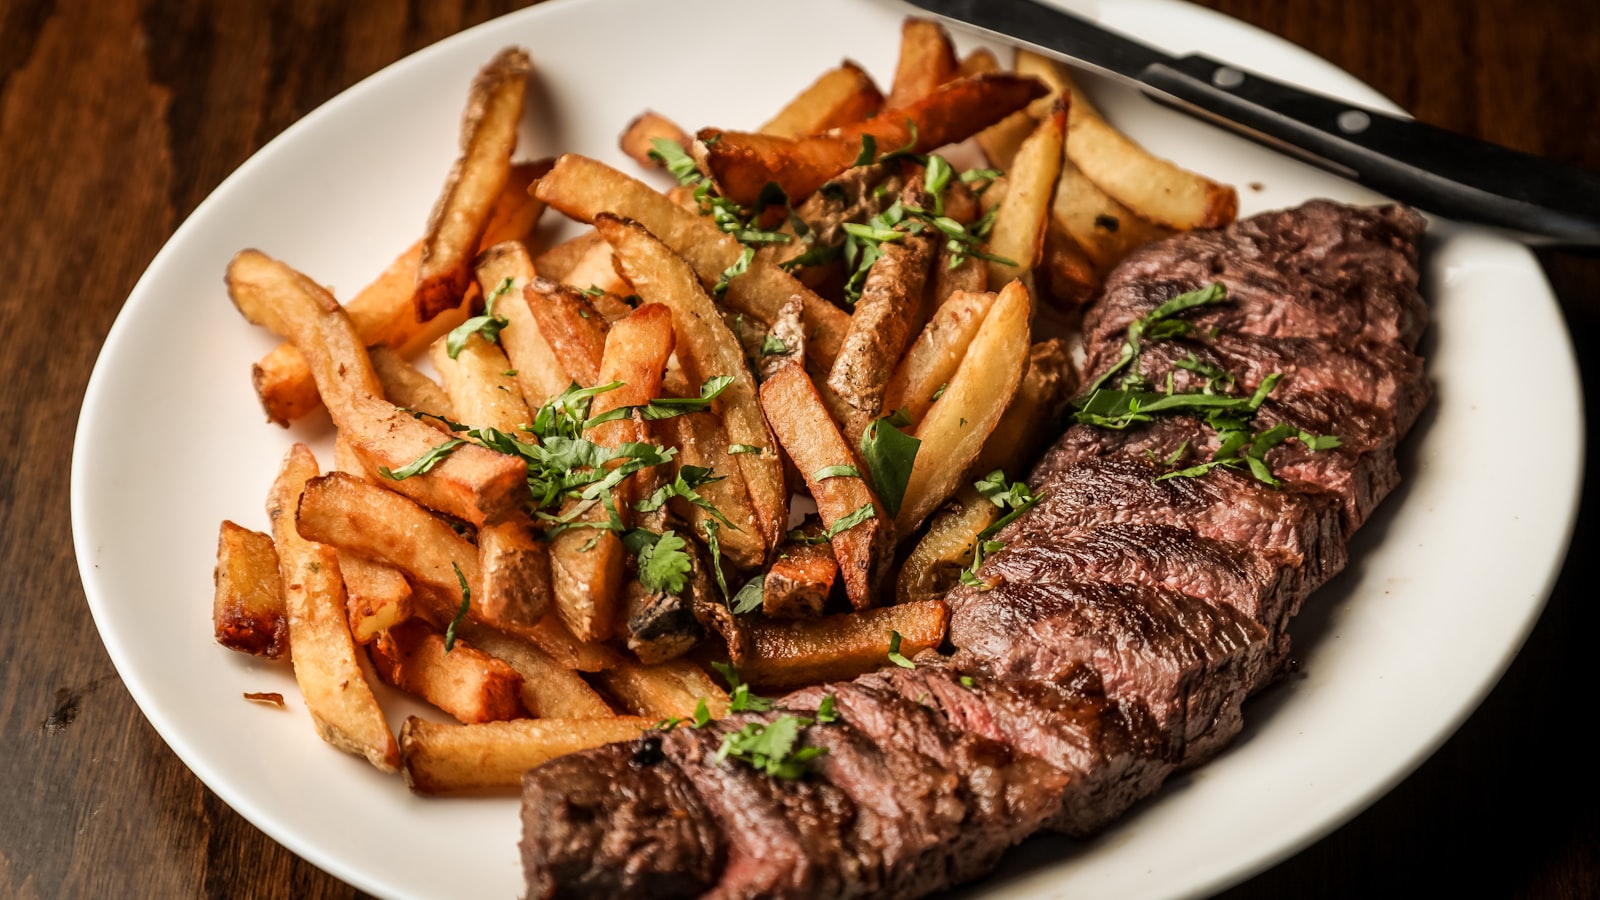
A good sear is the difference between meat that tastes like meat and meat that tastes like dinner. That deep brown crust isn't just color; it's a layer of savory, roasted flavor that raw heat alone can't fake. Get it right and even a cheap cut eats well.
People struggle with searing because the failures are quiet. The meat goes in, it turns grey, it leaks water, and nobody's sure what went wrong. Almost always it's one of four things, and once you know them, a proper crust becomes routine rather than luck.
Dry the surface, always#
Browning and water are enemies. As long as the surface of the meat is wet, all the pan's energy goes into boiling that moisture off, and the temperature at the surface stays stuck around the boiling point of water, which is nowhere near hot enough to brown anything. You get steam and a sad grey exterior.
So dry the meat, seriously and thoroughly, with paper towels right before it goes in the pan. Press, don't just dab. If you have time, leave the meat uncovered on a rack in the fridge for a few hours or overnight; the surface dries out further and browns even faster.
Salt plays a role here too. Salting well ahead of time, then patting dry, seasons the meat properly and helps the surface dry out. Salting the instant before searing is fine, but the salt hasn't had time to do much beyond the surface, so plan ahead when you can and read up on how to season food properly with salt if you want the crust and the inside both seasoned.
Get the pan properly hot#
Most home searing fails because the pan is too cool. People are nervous about high heat, so they cook on medium, and medium never gets the surface hot enough to brown quickly. By the time color develops, the inside is overcooked.
Heat the pan empty over high heat until it's genuinely hot. With a stainless or cast-iron pan, a drop of water flicked on the surface should skitter and dance rather than sit and fizzle. Then add a thin film of an oil that can take the heat, something with a high smoke point, and let that shimmer before the meat goes in. A guide to cooking oils is worth a look if you're not sure which fat handles high heat and which will just burn.
You want to hear a loud, immediate sizzle the moment the meat hits the pan. Silence means the pan is too cool, and a quiet start almost never recovers into a good crust.
Cast iron and heavy stainless hold heat well, which is why they sear better than thin nonstick pans that dump their heat the moment cold meat lands. If all you have is nonstick, it'll work, but heat it longer and don't expect the same crust.
Give the meat room#
Here's the mistake that undoes even a hot pan: piling everything in at once. Every piece of meat you add cools the pan and releases moisture, and past a certain point the pan can't keep up. The temperature crashes, the released water pools, and the whole thing simmers instead of sears.
Leave real space between the pieces, at least a finger's width. If you're cooking a lot, do it in batches rather than crowding, and keep the finished pieces somewhere warm while you go. Batching feels slower, but it's faster than trying to rescue a pan full of steamed, greying meat.
A few things to have sorted before the meat goes in:
- Meat dried and at cooler room temperature, not fridge-cold and clammy
- Pan hot, oil shimmering, exhaust fan on because a real sear smokes a little
- A warm plate or low oven ready for finished pieces
- Tongs in hand, and the patience to not fiddle
Take the meat out of the fridge a bit before cooking so it's not stone cold in the center. Cold meat drops the pan temperature harder and cooks unevenly, browning the outside long before the middle catches up.
Leave it alone, then flip once#
Once the meat is in, stop touching it. This is the hardest rule for nervous cooks, who poke and lift and nudge, checking constantly. Every time you move it, you interrupt the contact between meat and hot metal that's building the crust.
Here's the tell: properly seared meat releases itself. When you first set it down it sticks, hard, and if you try to flip it early it tears and leaves crust behind in the pan. Wait, and once a real crust has formed, the meat loosens and lifts cleanly with almost no effort. That release is your signal to flip, not the clock.
So set it down, leave it, and check for release rather than peeking every ten seconds. Flip once, sear the second side the same way, and resist the urge to flip back and forth. One good side, then the other.
Don't waste what's left behind, either. Those browned bits stuck to the pan, the fond, are pure flavor, and they're the whole basis of a simple pan sauce built in the same pan while the meat rests. A good sear and a quick sauce are a two-for-one.
Rest before you cut#
Pull the meat while the center is a touch under where you want it, because it keeps cooking from residual heat after it leaves the pan. This carryover is real and easy to underestimate, so err toward pulling early rather than late.
Then let it rest. Set it on a board or warm plate and leave it for several minutes, loosely, before cutting. During the sear the heat drives moisture toward the center; resting lets it settle back through the meat, so it stays juicy on the board instead of running out the moment your knife goes in. Cut too soon and you pour that juice onto the cutting board, which is a waste of everything you just did.
Rest time scales with size. A thin steak needs only a few minutes; a big roast wants much longer, sometimes fifteen or twenty. If you're carving, a sharp knife and a confident hand matter here, which is its own small skill worth building.
Put it together#
Searing rewards a little discipline more than any fancy equipment. Dry the surface, heat the pan until it's truly hot, don't crowd it, and leave the meat alone until it releases. Then rest it. That's the entire method, and each step exists to protect the same thing: getting the surface hot enough, fast enough, to brown before the inside overcooks.
Practice on something forgiving before you gamble on an expensive cut. A few chicken thighs or a cheap steak will teach your ears and eyes what a real sear sounds and looks like, and after a couple of tries you'll trust the process enough to stop hovering. Get the crust right and the rest of dinner tends to follow.